|
|
FortiClient Installation - MacOS |
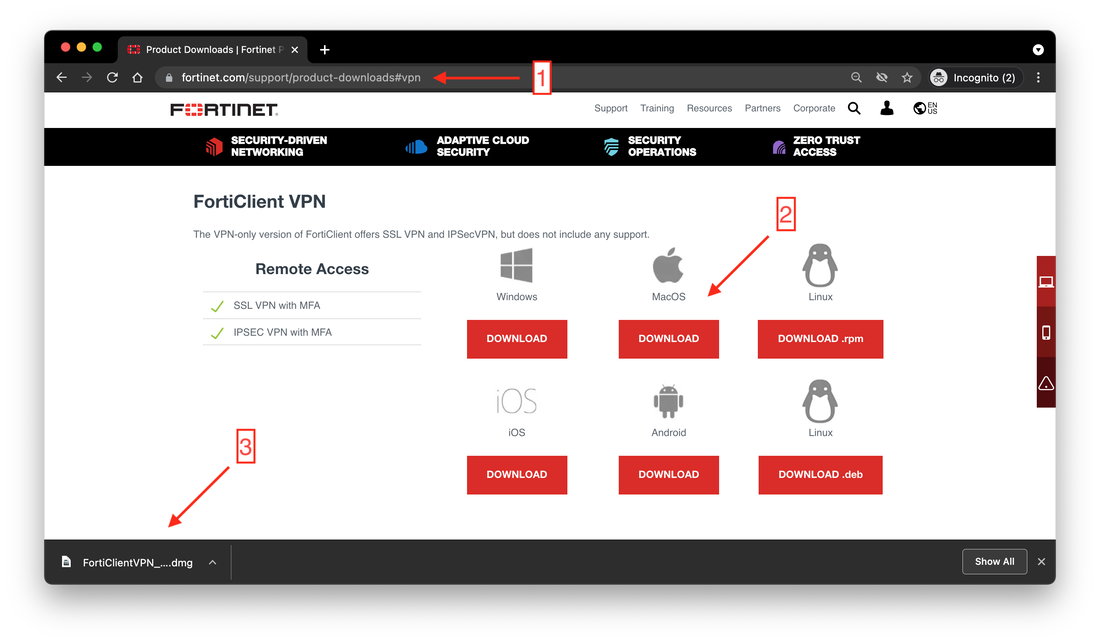
- Open a web browser of your choice, go to URL https://www.fortinet.com/support/product-downloads#vpn, and scroll down to section "FortiClient VPN"
- Download MacOS client as shown below
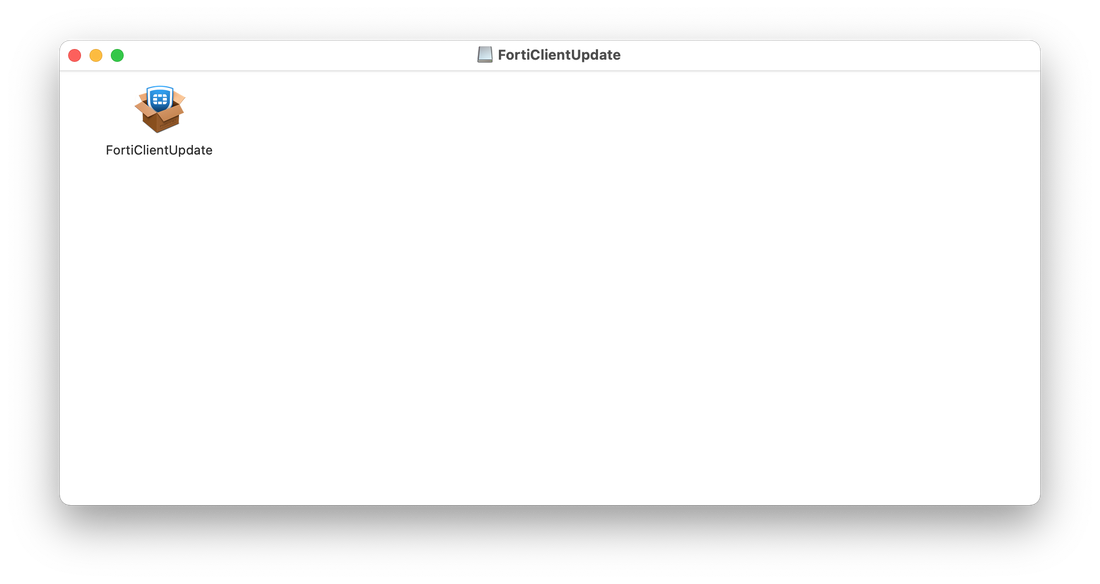
- Start the installation by executing the downloaded file
Depending upon the browser you are using; the program will download in one of the sections below.

- Double click "FortiClientUpdate" icon once the downloaded file is open, in order to start the installation process.
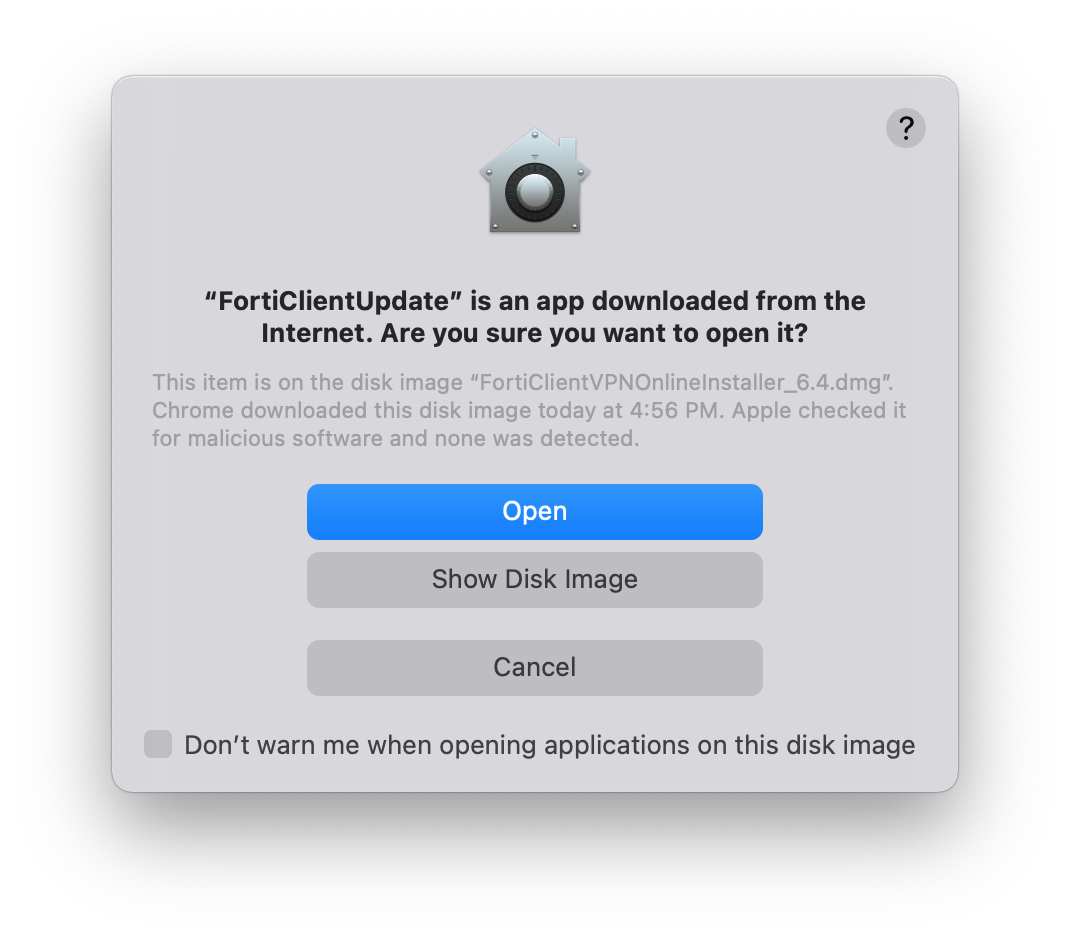
- Click the "Open" button below once it appears.
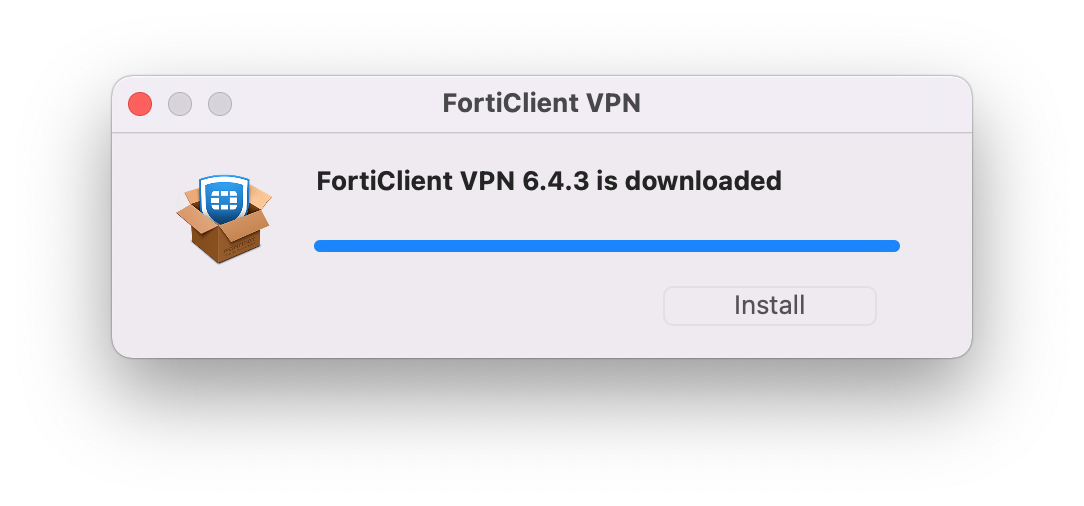
- Wait for the FortiClient VPN program to download and then the button "Install" will appear; press "Install".
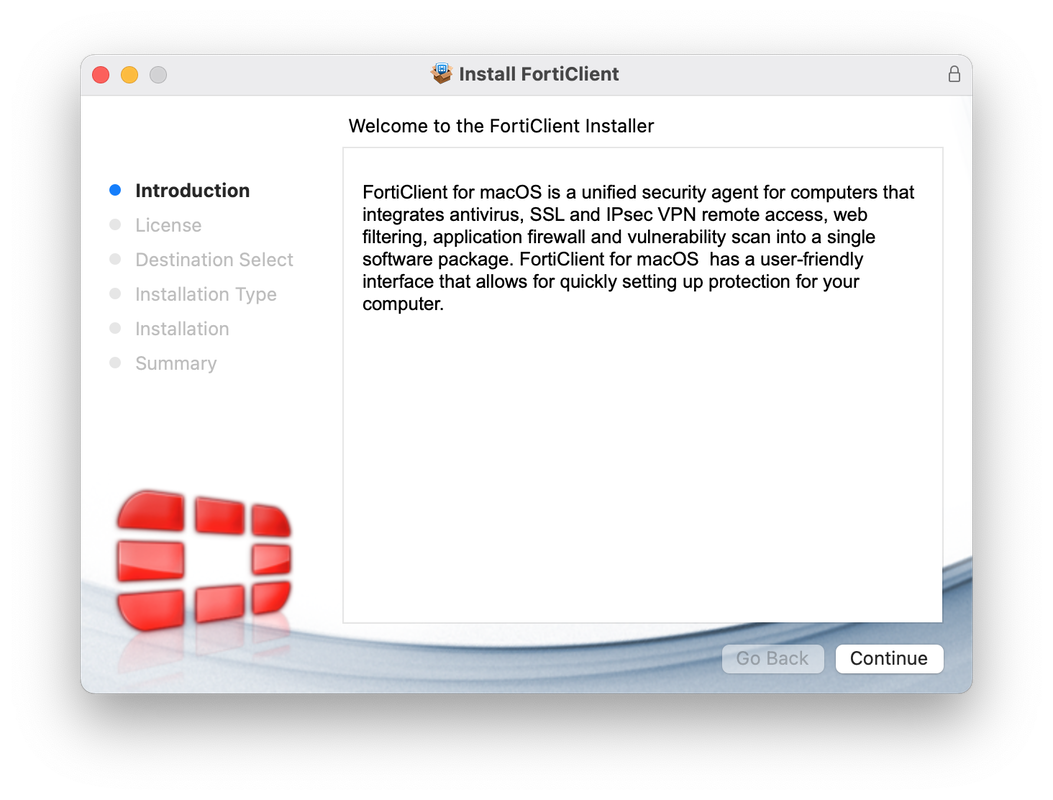
- Press "Continue".
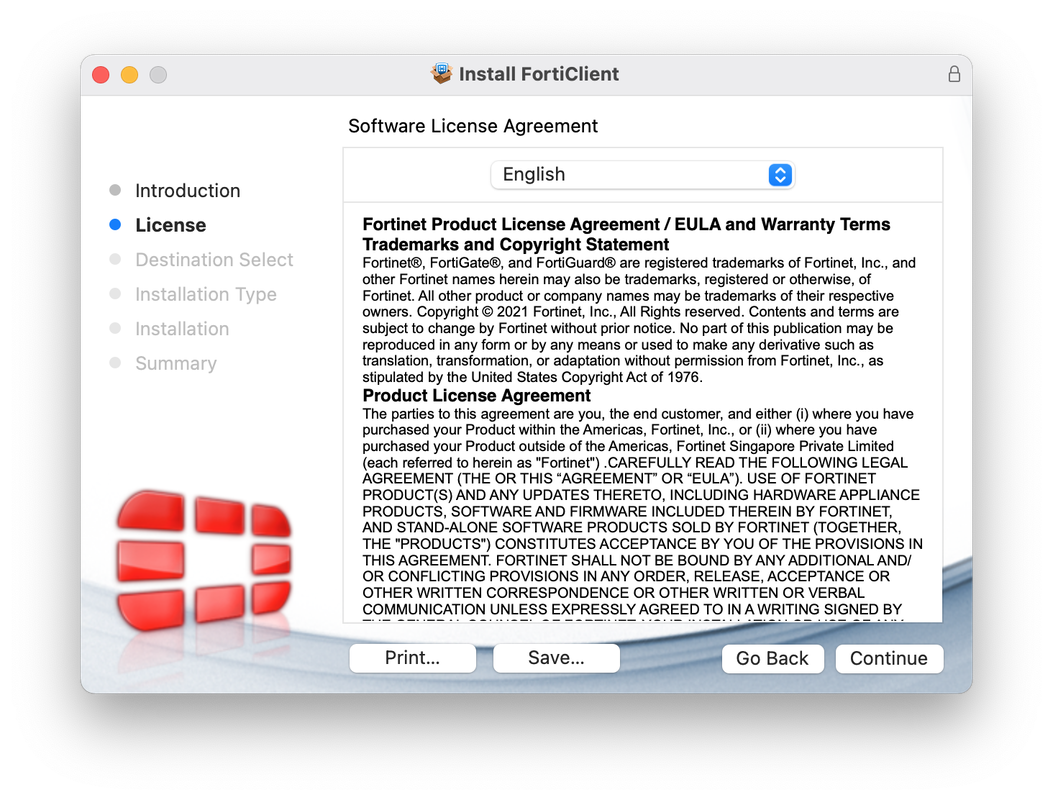
- Press "Continue".
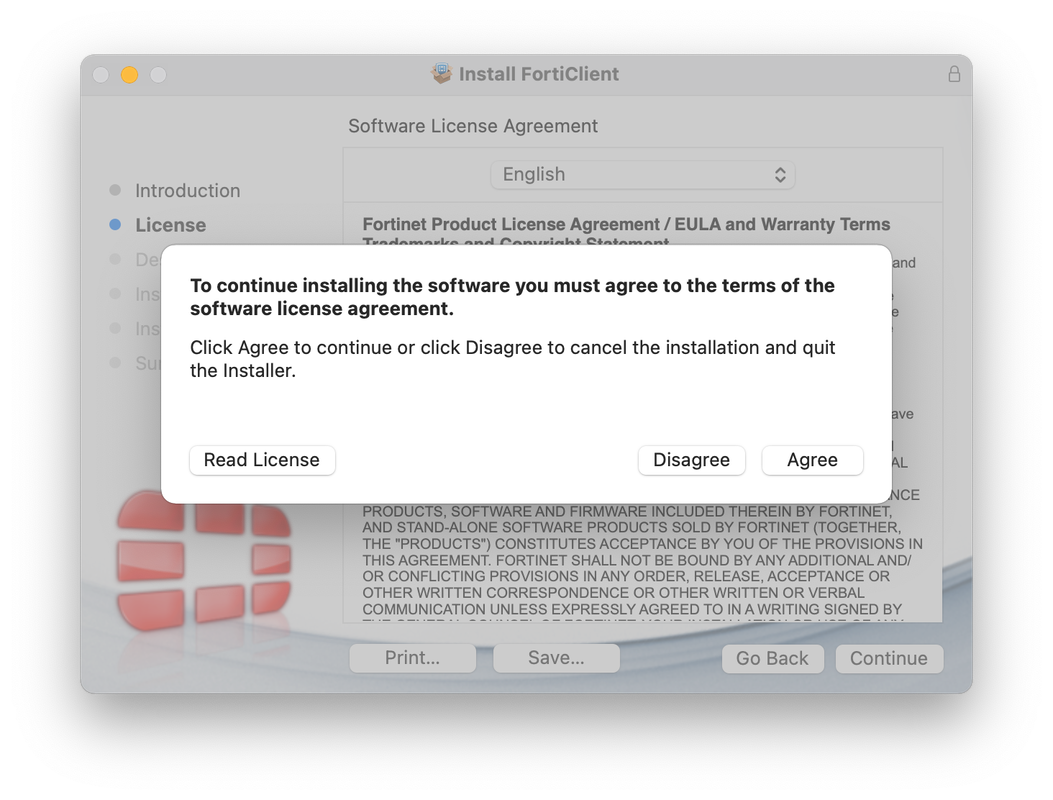
- Press "Agree".
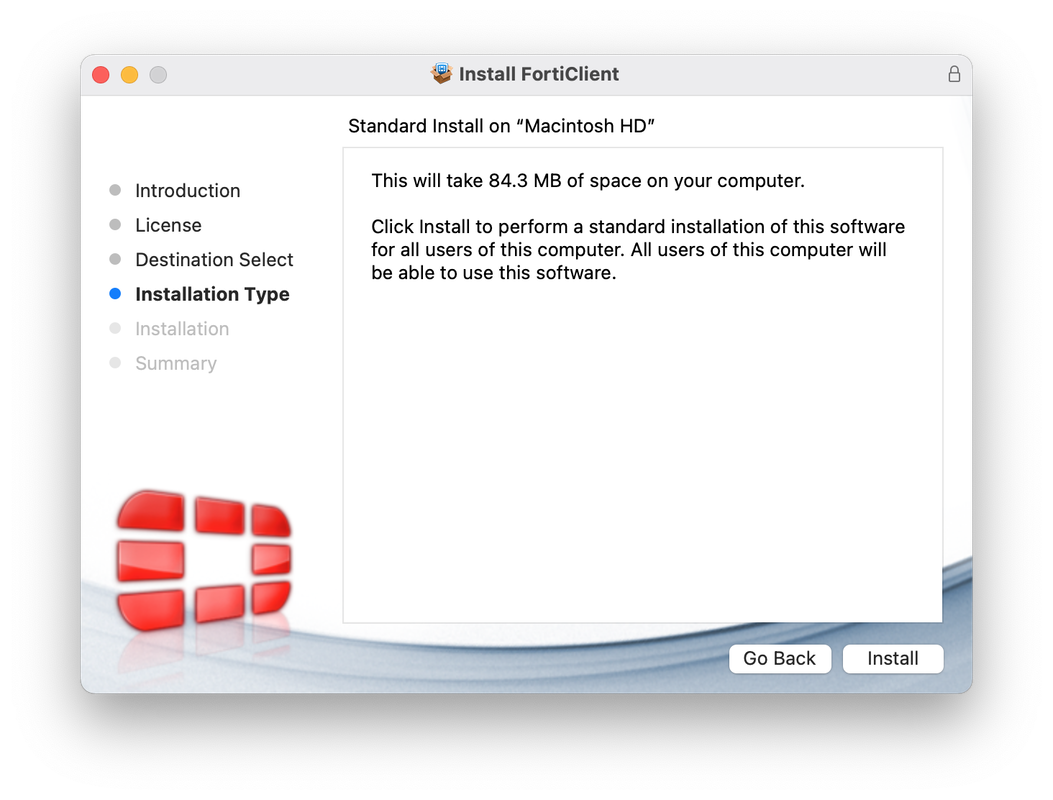
- Press "Install"
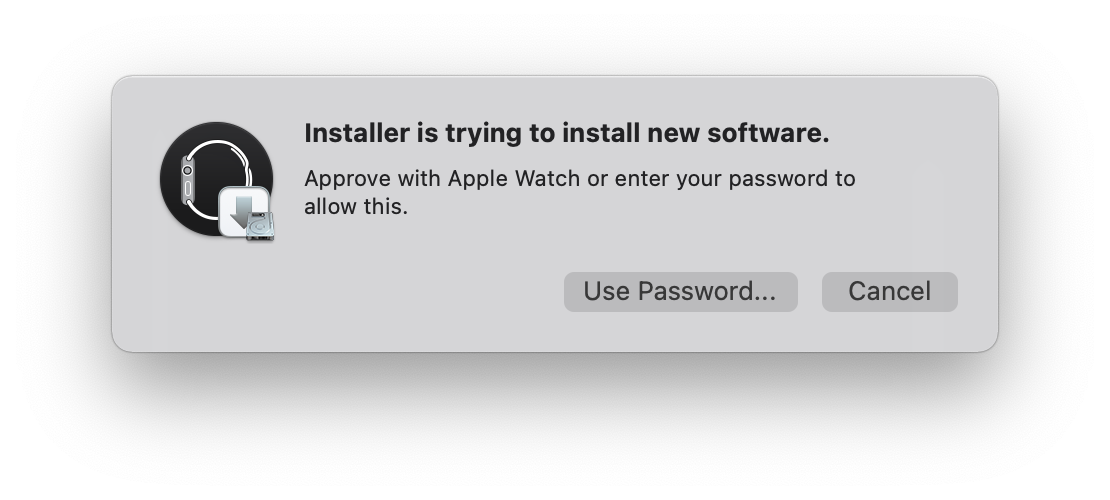
- Enter your local computer password to start the installation process.
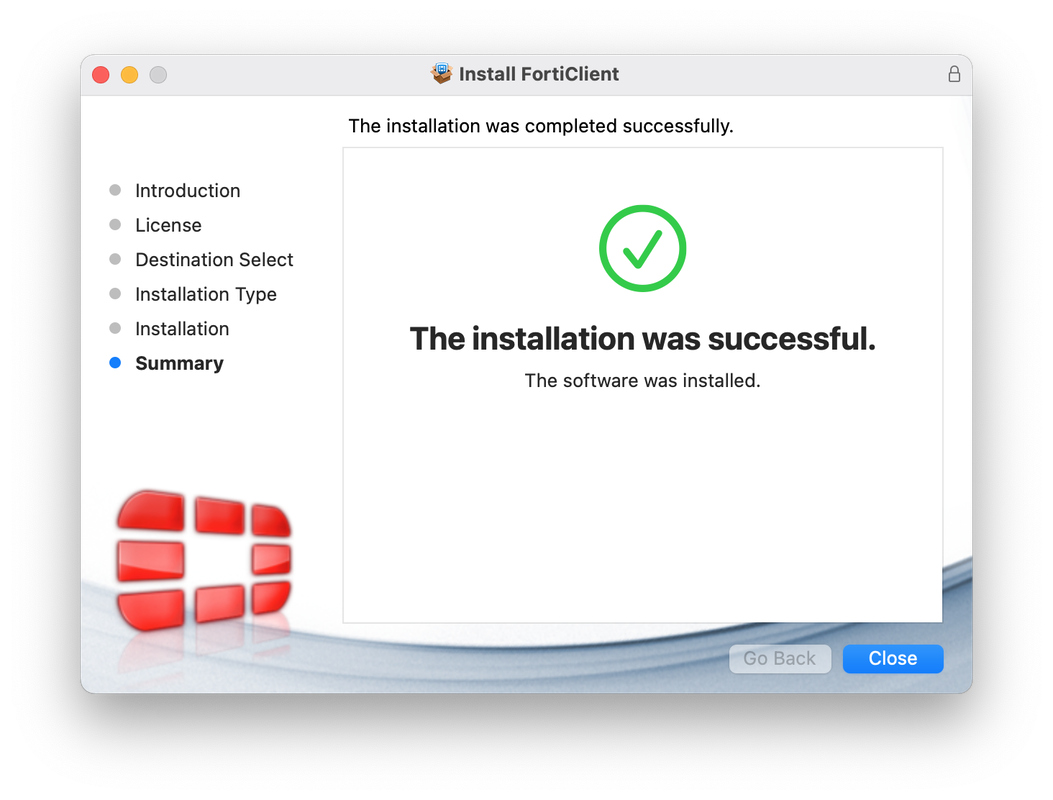
- Press "Close"
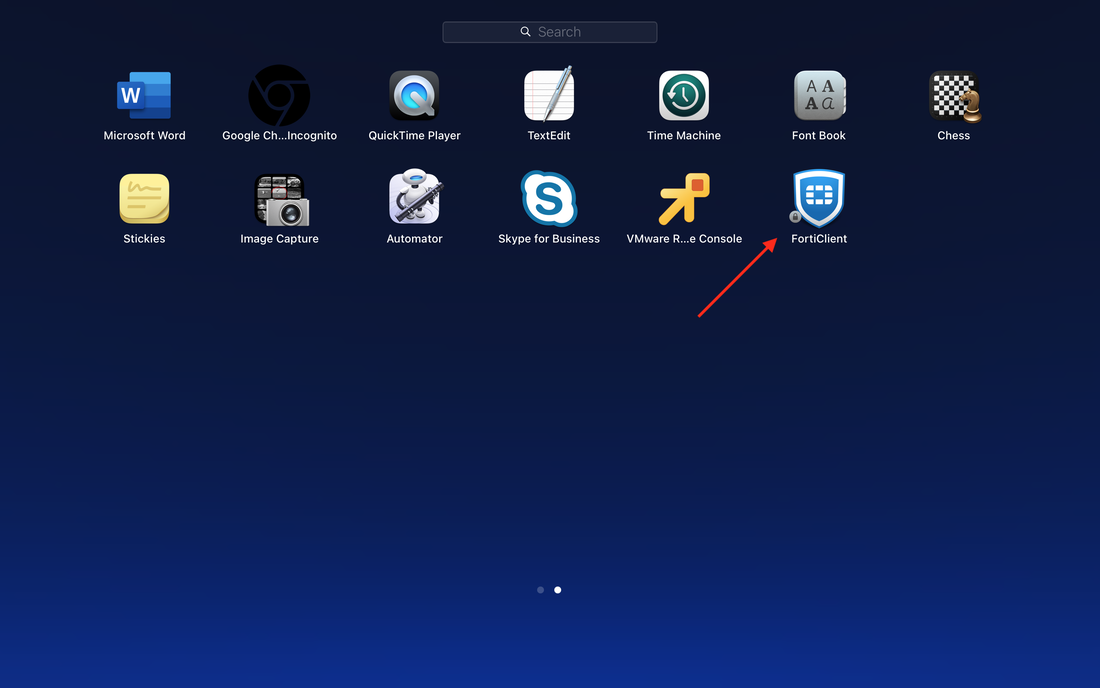
- Find icon "FortiClient" under your Launchpad and press it.
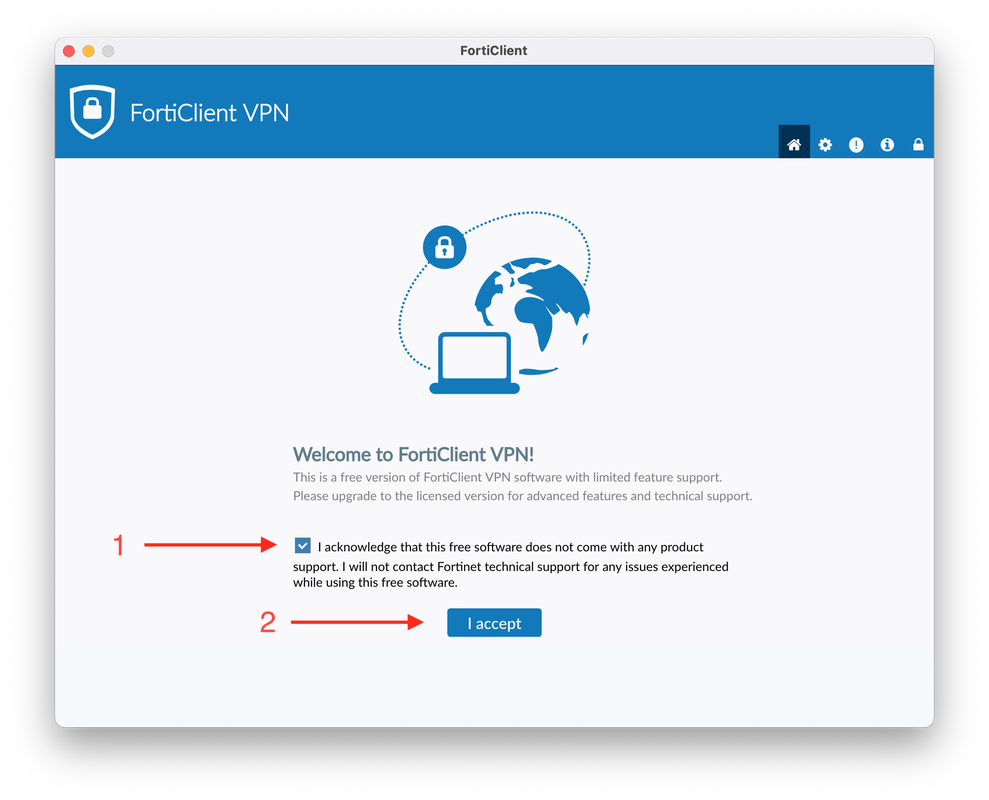
- Check the mark to acknowledge
- Press "I Accept"
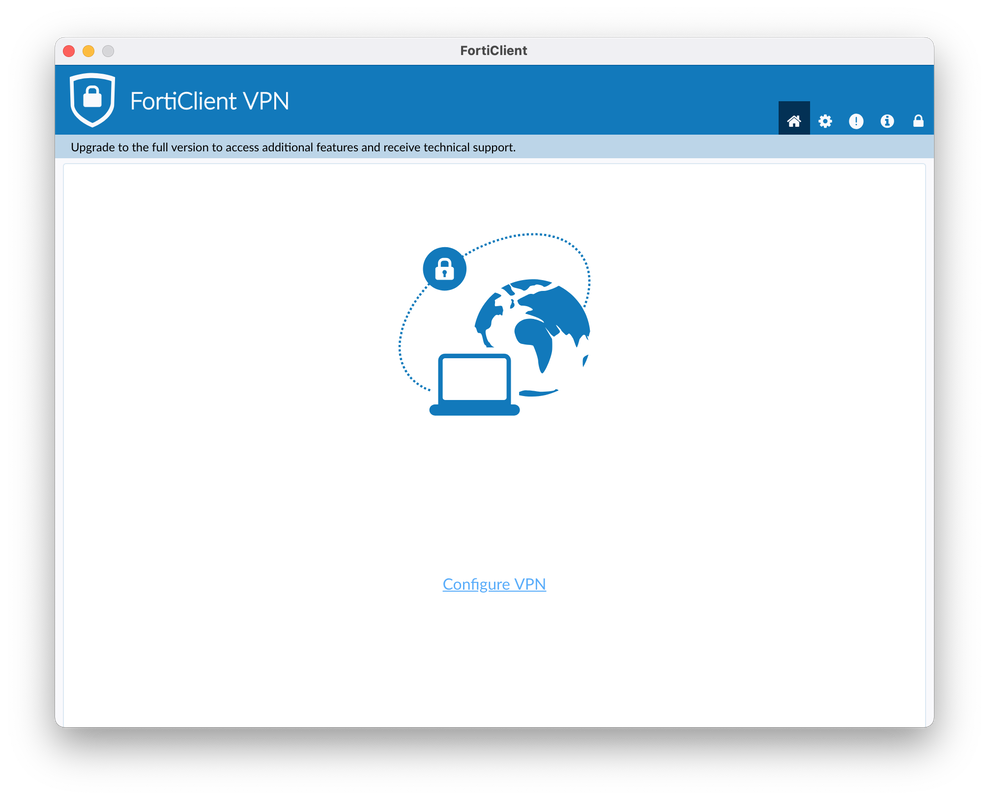
- Select "Configure VPN"
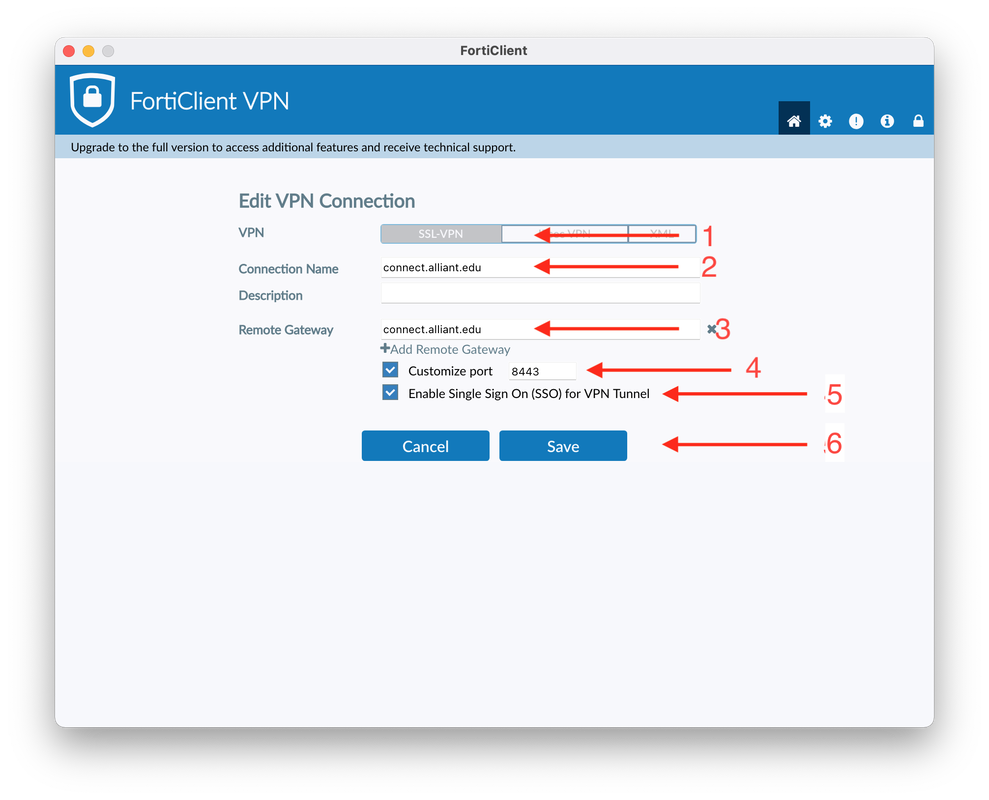
- Select "SSL-VPN"
- Enter "connect.alliant.edu" as a Connection Name
- Enter "connect.alliant.edu" as a Remote gGateway
- Check the mark "Customize Port" and enter "8443" as custom port number
- Check the mark for "Enable Single Sign On (SSO) for VPN Tunnel
- Press "Save"
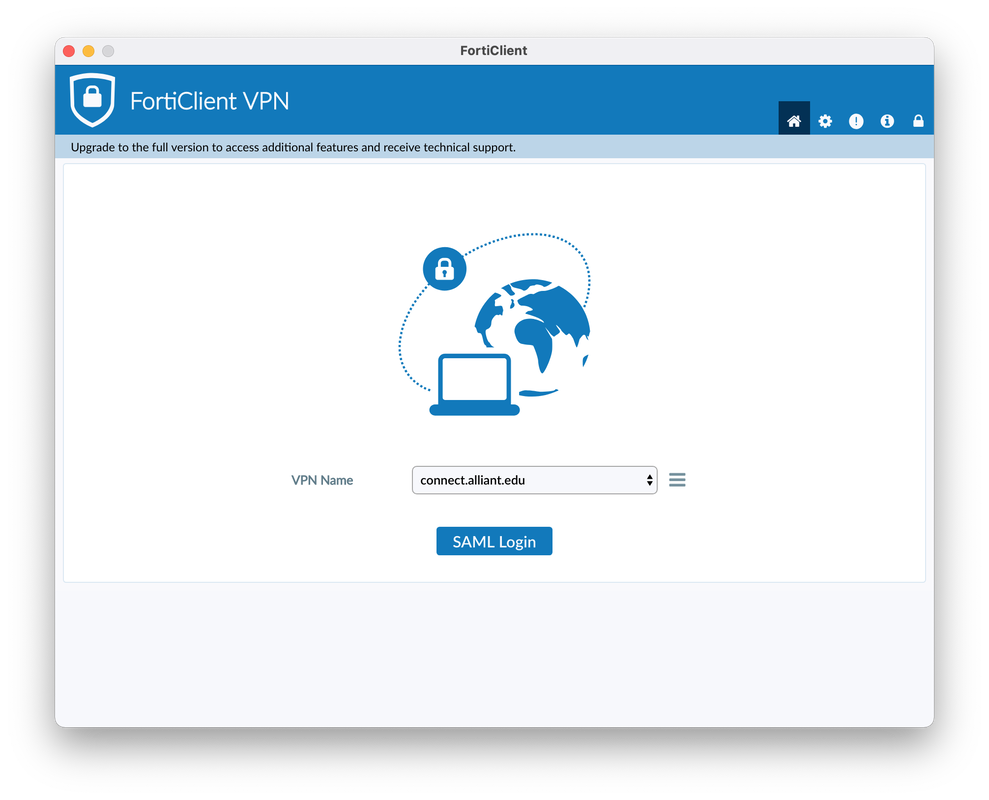
- Press "SAML Login"
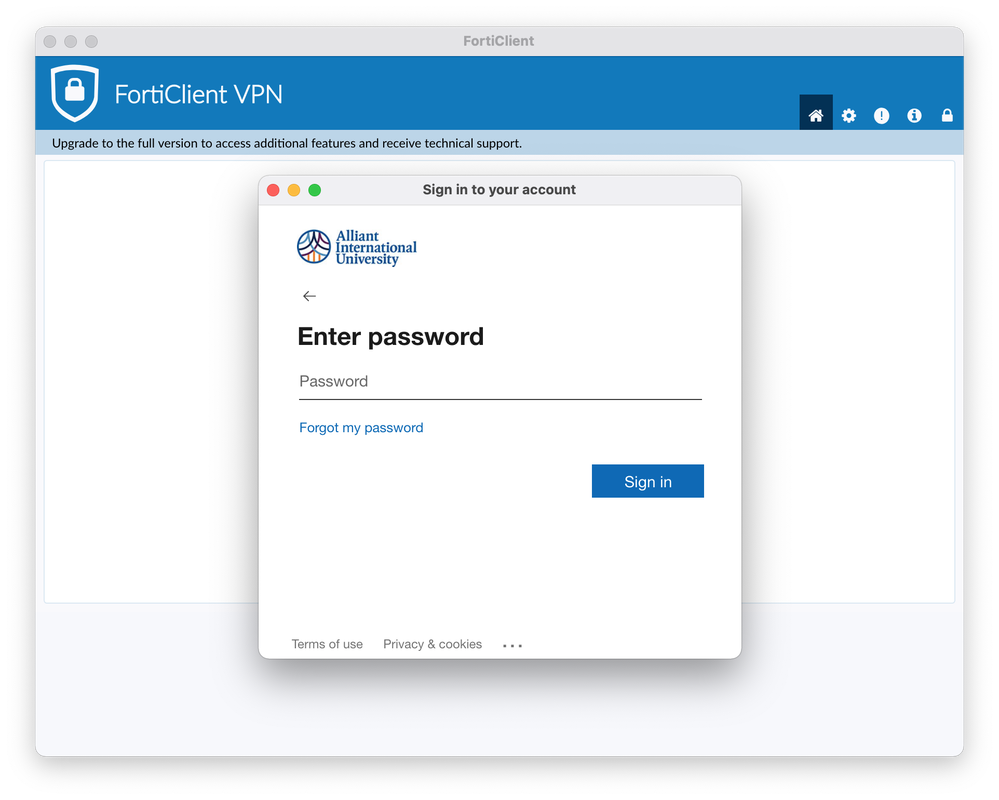
- Sign in using your Alliant email address.

- Enter your Alliant email password.
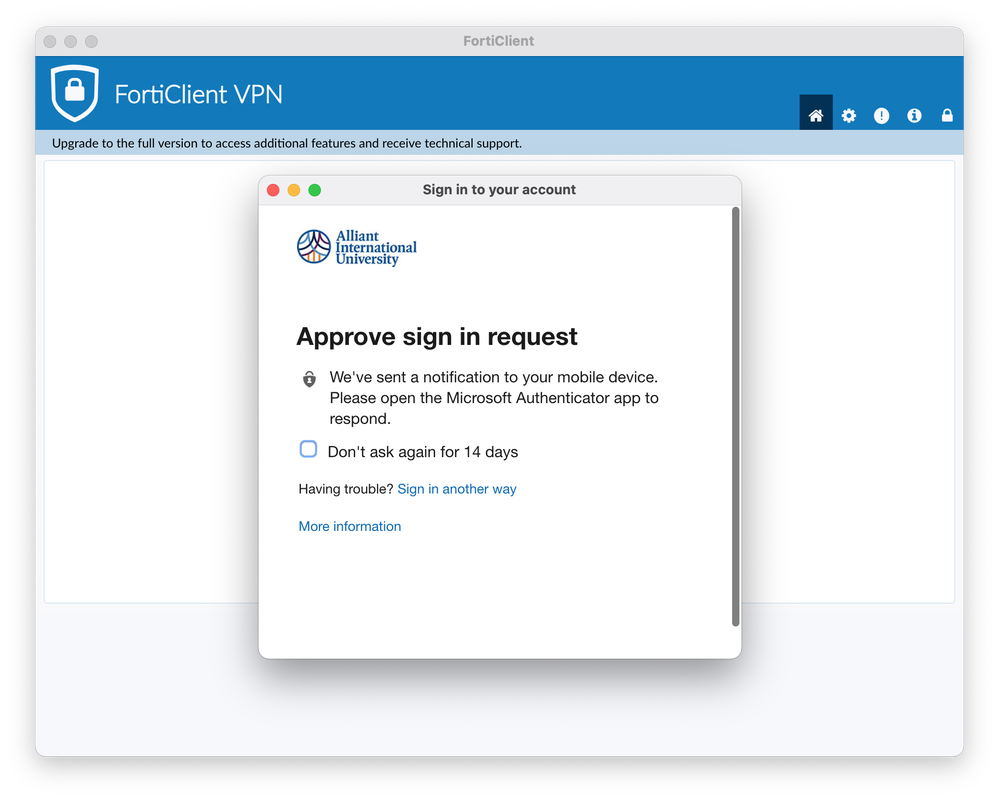
- Approve the sign in request the way you usually do; either via an authenticator, text message, phone call, etc.
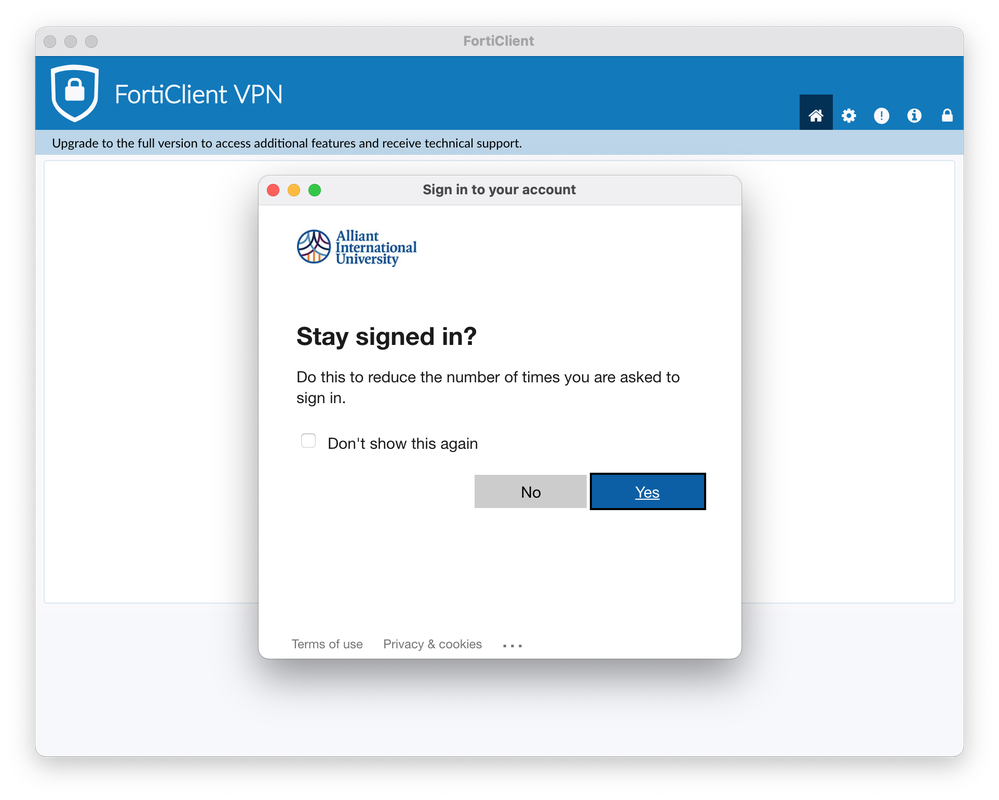
- Click "Yes".
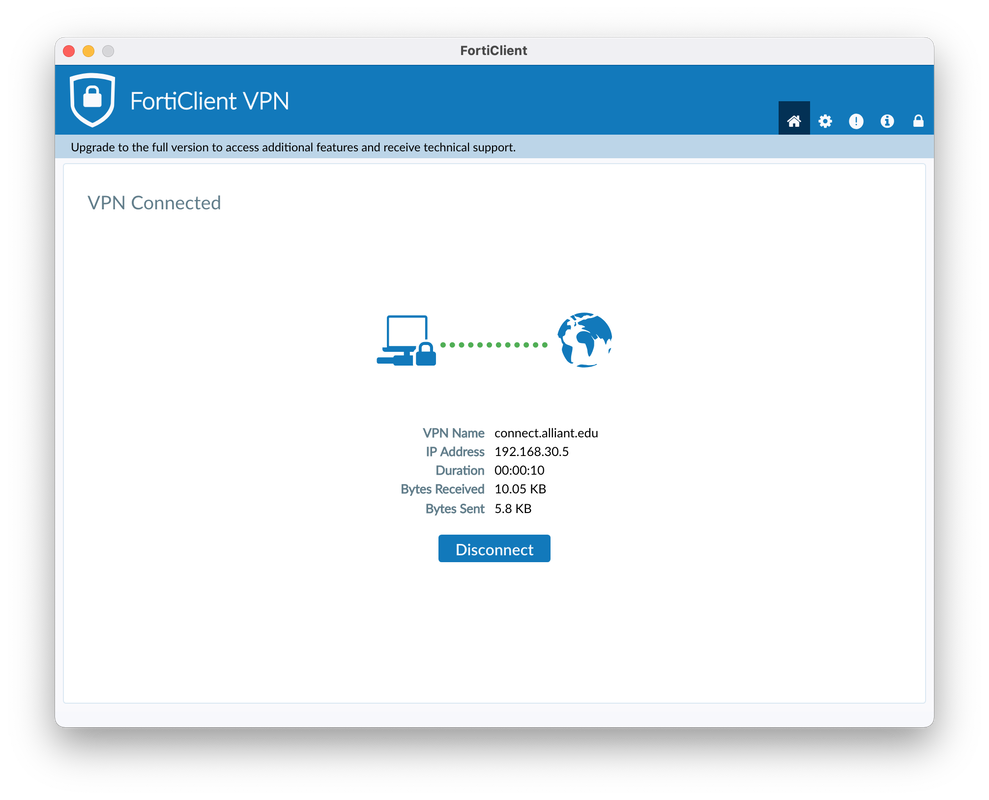
Once connected, you'll see a screen similar to the one below and an indication on your status bar for being connected.