|
|
FortiClient Installation - Windows |
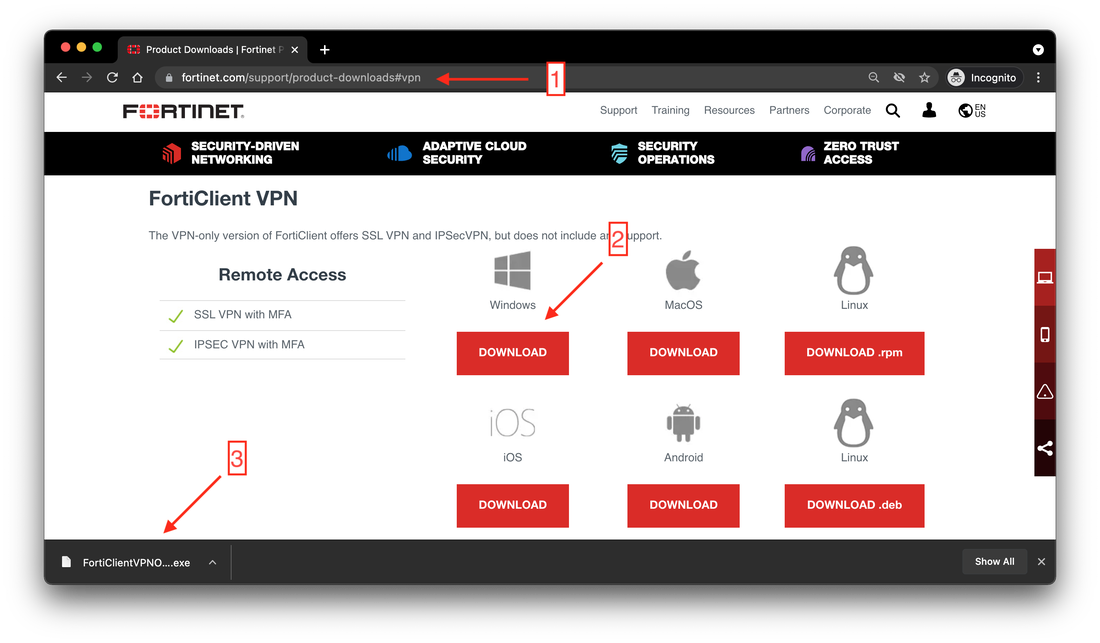
- Open a web browser of your choice, go to URL https://www.fortinet.com/support/product-downloads#vpn, and scroll down to section "FortiClient VPN"
- Click to download Windows client as shown below
- Start the installation by executing the downloaded file
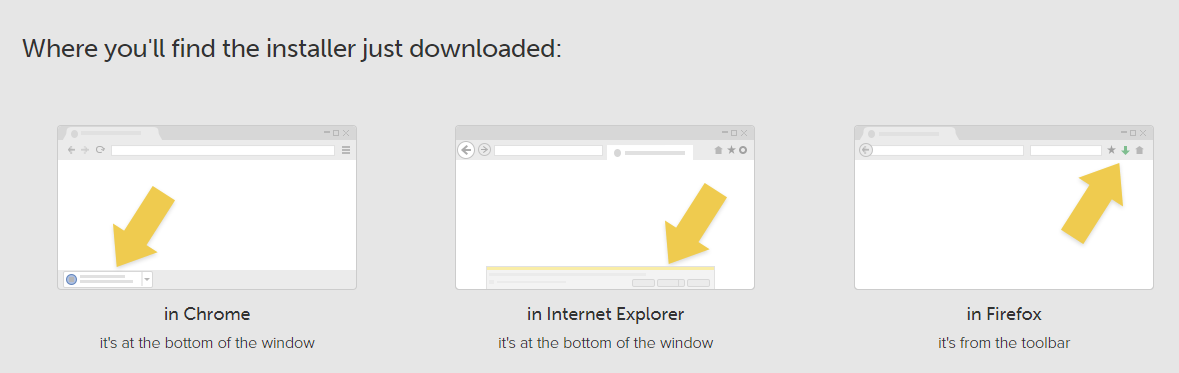
Depending upon the browser you are using; the program will download in one of the sections below.
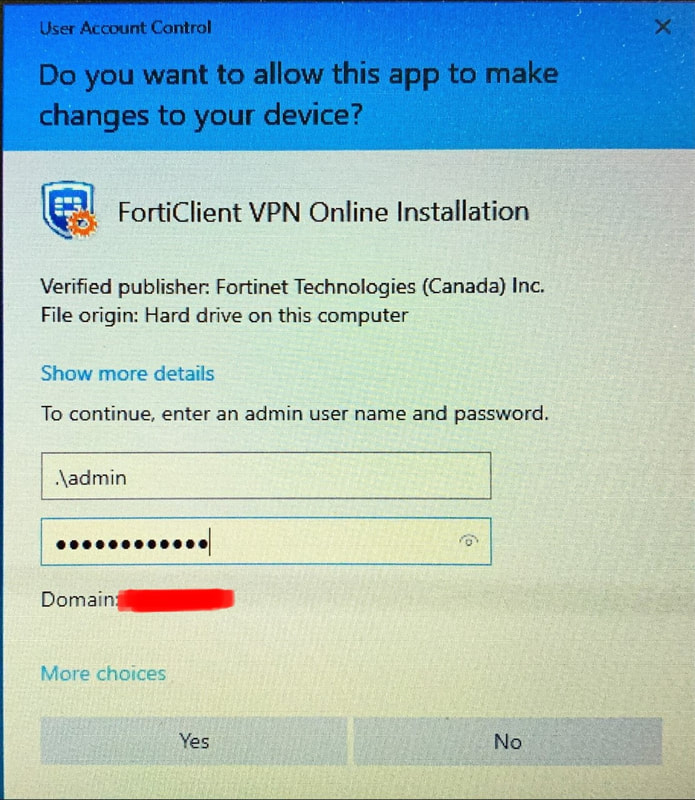
If you are using an Alliant computer, you might be prompted for Administrator credentials. If you need assistance with the password, contact the Alliant Helpdesk at [email protected] or call 858.635.4355
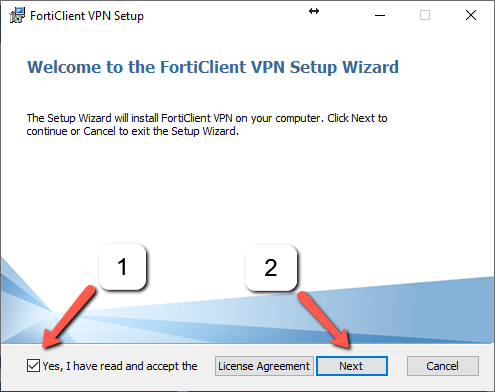
- Checkmark "Yes, I have read and accept the License Agreement"
- Press "Next"
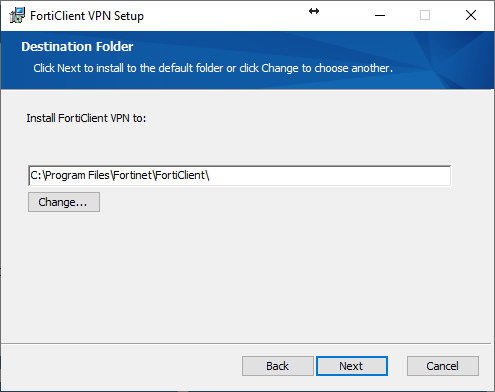
- Press "Next"
- Press "Install"

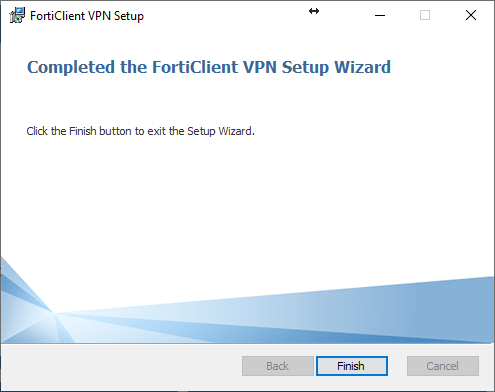
- Wait for the client to be downloaded, installed and press "Finish"
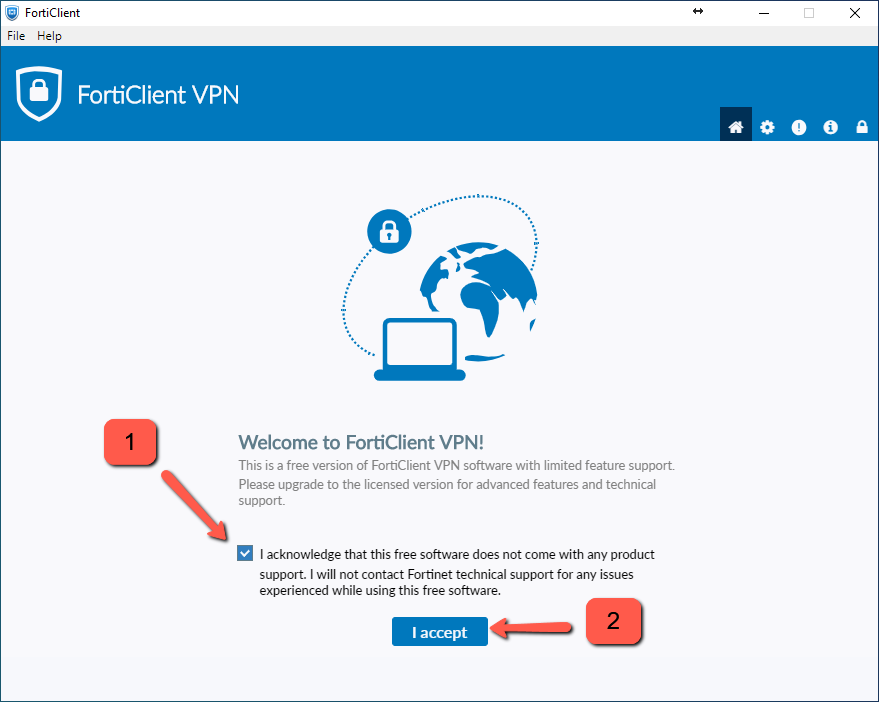
- Double click the FortiClient icon on your taskbar

- Checkmark to acknowledge
- Press "I Accept"
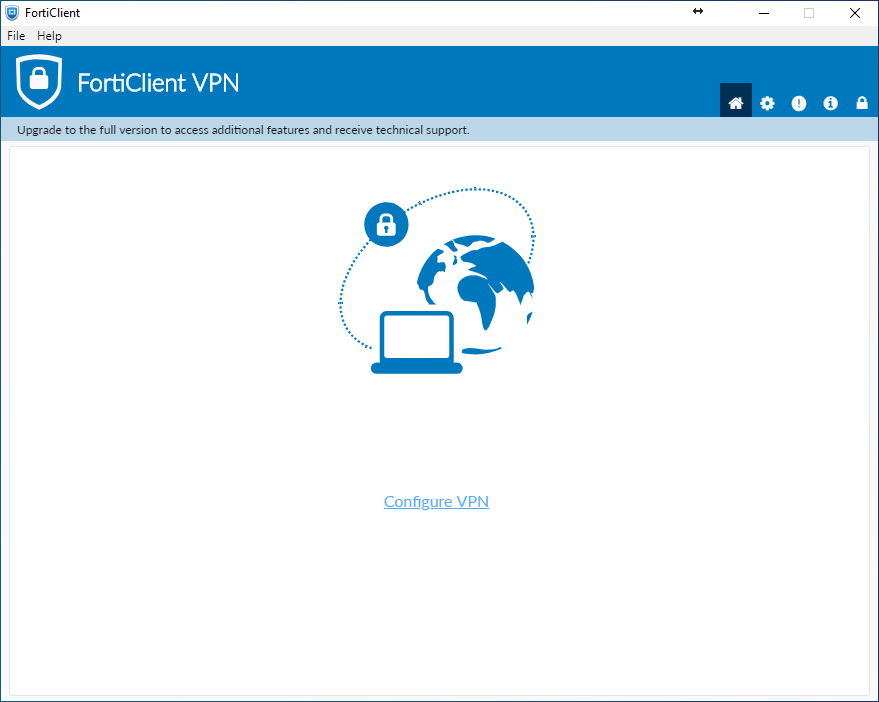
- Press "Configure VPN"
- Select "SSL-VPN"
- Enter "connect.alliant.edu" as a Connection Came
- Enter "connect.alliant.edu" as a Remote Gateway
- Checkmark "Customize Port" and enter "8443" as custom port number
- Checkmark "Enable Single Sign On (SSO) for VPN Tunnel
- Press "Save"

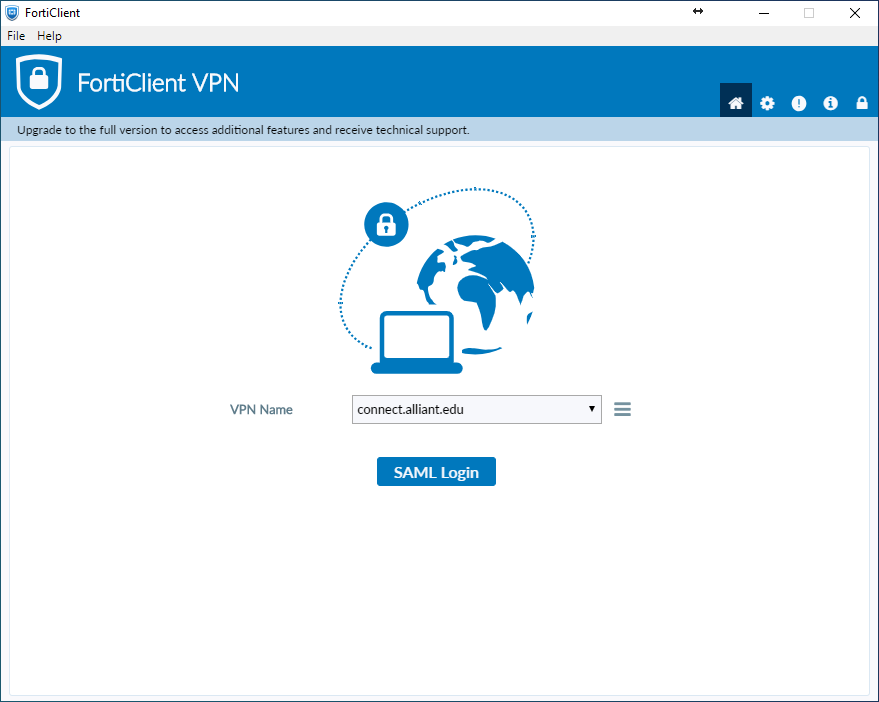
- Press "SAML Login"
- Enter your Alliant email address and press "Next"

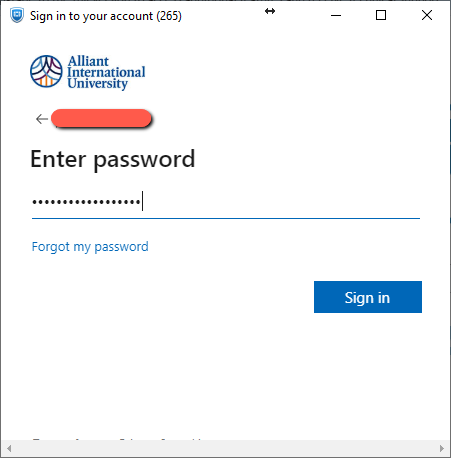
- Enter your Alliant password and press "Next"
- Approve the sign request the usual way you are doing it; either an authenticator, a text message, a phone call, etc.

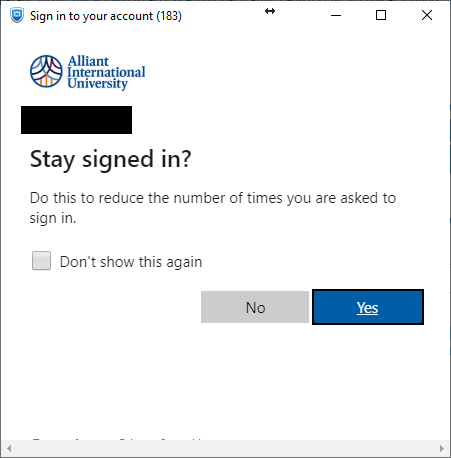
- Press "Yes" and wait to get connected.
Once connected, you'll see a screen similar to the one below and an indication on your status bar for being connected.
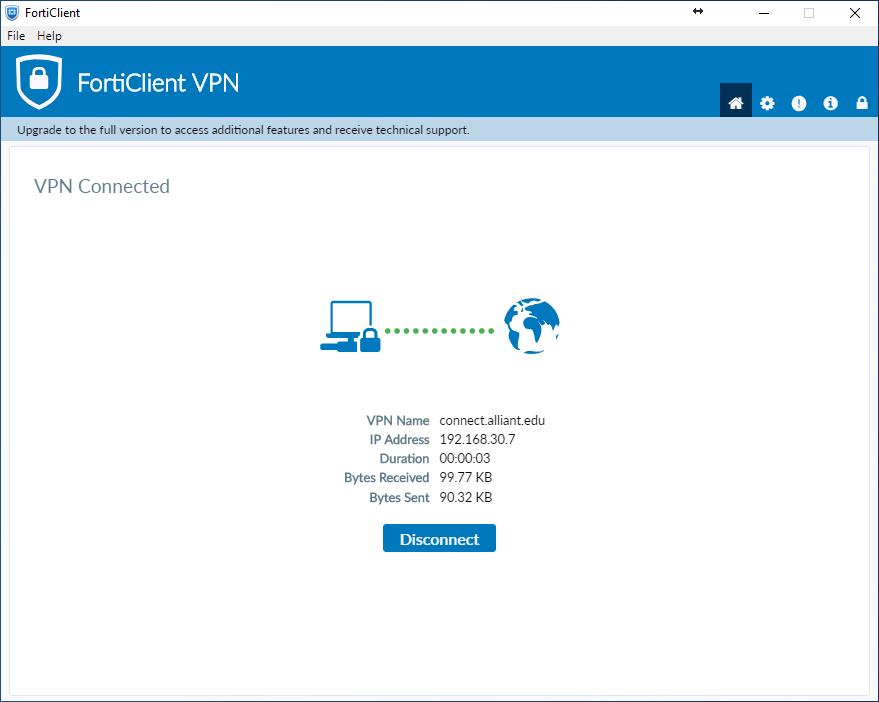
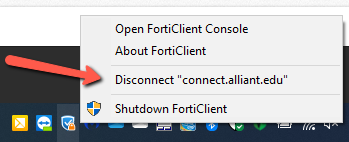
- In order to disconnect the VPN, click on the FotiNet VPN icon on the status bar and select Disconnect "connect.alliant.edu" from the menu.